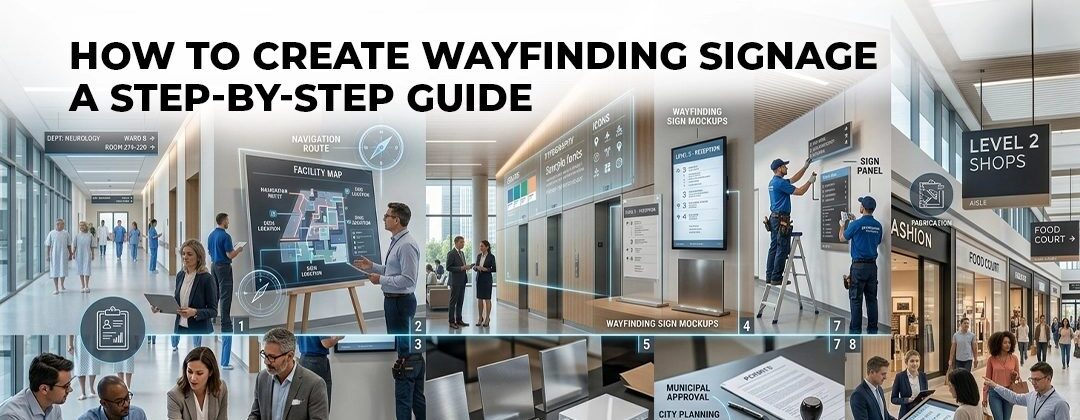
How to Create Wayfinding Signage: A Step-by-Step Guide
Creating effective wayfinding signage is not simply a matter of printing arrows and mounting them on walls. A well-designed wayfinding system requires careful planning, a deep understanding of how people move through spaces, and a disciplined approach to visual communication. This step-by-step guide walks you through the entire process — from the initial site assessment to final installation — so you can build a system that genuinely works for your facility in Doha or anywhere across Qatar.
Step 1: Conduct a Space and User Analysis
Before designing a single sign, understand the space and the people who use it. Walk through your building as a first-time visitor. Identify:
- All entry and exit points
- Primary destinations (reception, toilets, emergency exits, key departments)
- High-traffic corridors and bottlenecks
- Decision points — junctions, lifts, staircases where navigation choices must be made
- Accessibility requirements for people of determination
This analysis forms the foundation of everything that follows. Without it, your wayfinding system will address the wrong problems.
Step 2: Map Your Facility and Define Sign Locations
Create a scaled floor plan of your facility and mark every location where a sign is needed. For each location, define:
- The type of sign required (directional, identification, informational, regulatory)
- The destinations or information to be shown
- The mounting method (wall-mounted, ceiling-suspended, freestanding)
- The required size based on viewing distance
This sign schedule becomes your master document throughout the project and the basis for your fabrication brief with your signage supplier.
Step 3: Develop Your Visual Design System
A wayfinding system must have a consistent visual identity. Define:
- Typography: Choose a clean, highly legible sans-serif typeface. Avoid decorative fonts. Ensure the font is readable at a distance.
- Colour palette: Select background and text colours that meet accessibility contrast ratios. Your colours should also align with your overall brand identity.
- Icons and pictograms: Use universally recognised symbols wherever possible. Ensure they are culturally appropriate for Qatar.
- Arrow conventions: Decide on a consistent arrow style and define how directions (straight ahead, left, right, up/down) will be communicated.
- Bilingual layout: In Qatar, all commercial and public signage must include both Arabic and English. Determine your Arabic-English layout hierarchy.
Step 4: Design Individual Sign Panels
With your visual system defined, design each sign panel. Prioritise clarity over creativity at every stage. Each sign should communicate its message in under three seconds for a person walking at normal pace.
For directional signs, apply a strict hierarchy:
- Most important destination first
- No more than five to seven destinations per sign
- Group destinations by direction
- Use consistent spacing, alignment, and icon placement across all panels
Step 5: Choose Your Materials
Material selection depends on the location, environment, and aesthetic requirements of your facility. For indoor wayfinding in Qatar, popular options include:
- Acrylic sign boards: Clean, modern appearance. Ideal for corporate offices, clinics, and hotels.
- Backlit LED panels: High visibility in low-light areas such as corridors and underground levels.
- Aluminium composite panels (ACP): Durable, lightweight, and weather-resistant for semi-outdoor applications.
- 3D sign boards: Premium finish for reception areas, department identifiers, and landmark signs.
For outdoor wayfinding, all materials must be rated for Qatar’s extreme heat, UV exposure, and dust. See our outdoor signage solutions and pylon sign board services.
Step 6: Obtain Municipal Approvals
In Qatar, signage requires Baladiya (Ministry of Municipality) approval before installation. For illuminated signs, Civil Defence sign-off is also required. Prepare your technical drawings, Arabic-English design files, and supporting documents. Work with a licensed signage contractor — many municipal portals only accept submissions from registered fabricators.
Speedline Media manages the full Baladiya approval process for our clients, from Arabic translation review to Civil Defence sign-off and final installation.
Step 7: Fabricate and Install
With designs approved and materials selected, fabrication can begin. A professional signage company will quality-check every panel before delivery and install each sign precisely at the pre-agreed locations on your sign schedule.
Professional installation matters. Signs that are crooked, poorly anchored, or incorrectly positioned undermine the credibility of the entire system. Speedline Media’s installation teams work to precise specifications across all facility types in Doha and Qatar.
Step 8: Test, Review, and Refine
Once installed, test the wayfinding system with real users unfamiliar with the building. Observe where they hesitate, where they make wrong turns, and where they look for signs that do not exist. Use this feedback to refine sign placement, messaging, or design before full commissioning.
Treat your wayfinding system as a living asset. Review it whenever spaces change, departments relocate, or visitor patterns shift. A maintained system continues to deliver value for years. Explore our complete indoor signage solutions and sign board services in Qatar.
Speedline Media & Advertising
📍 Al Jazeera Street, Bin Mahmoud, Doha, Qatar